Defects of injection molded parts are undesirable imperfections or inconsistencies that appear on the surface of the molded product during plastic processing. The main causes of these defects are typically:
- incorrectly designed injection molding process
- improperly selected technological parameters
- incorrect design
- incorrectly manufactured injection mold
By reading the article, you will learn:
- What is an injection molding defect, and how does it occur?
- What defects can occur on injection molded products?
- What preventive actions should be taken.
What is an injection molding defect, and how does it occur?
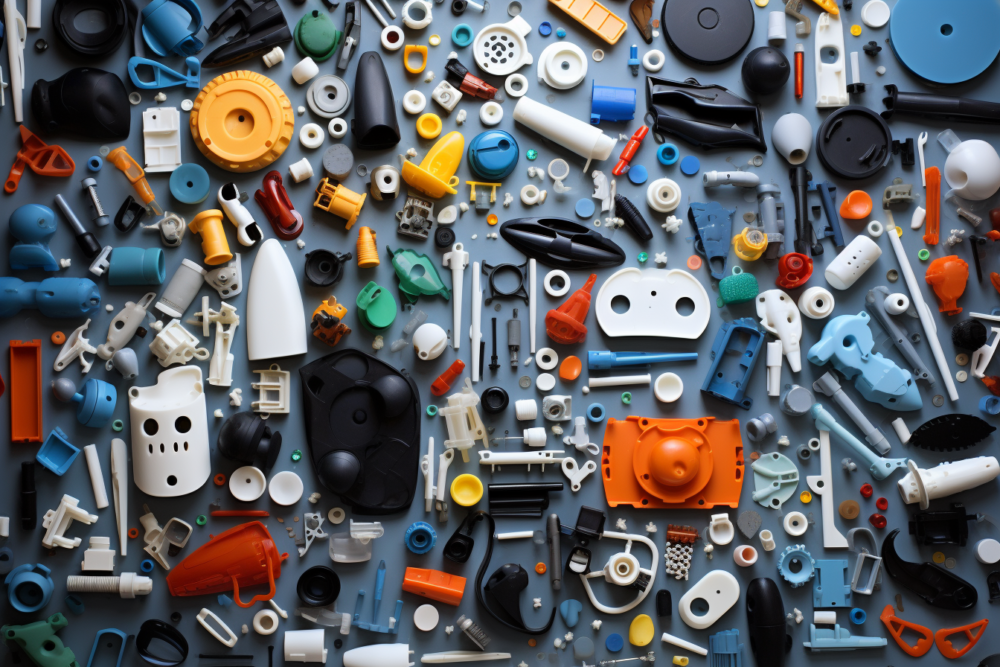
An injection molding defect is the final product created using injection molding technology (more about this technology was discussed in this article). By bringing the material to a plastic state through the application of a sufficiently high temperature and injection, a molded product with the desired shape is produced.
Injection molding is the most popular technology among all plastic processing methods. This is due to its versatility and the ability to produce parts with even very complex shapes.
A few words about the injection molding process
Injection molding process
In the plastic injection molding process, several basic stages are distinguished. A brief description of them will be presented below:
- Material preparation: The granulate is initially dried and then placed in the hopper of the injection molding machine. The material is then heated in the cylinder to a temperature that allows it to transition into a plastic state.
- Injection of the material: The plasticized material is injected under high pressure into the mold cavity, which has the shape of the desired molded product.
- Cooling of the molded product: The injected material is left in the mold for some time to allow for cooling (this is important because the plasticity temperature of most plastics is around 100°C or higher) and solidification so that it can be removed.
- Removal of the finished injection molded product: after the cooling process, the molded product is removed from the mold (in its solid form). This is most often an automated process, although in some facilities, it is still semi-automated, meaning that an operator removes the molded product.
Tooling
To use injection molding technology, you need to create an injection mold first (you can learn more about molds here).
Defects of injection molded parts can occur due to the tooling, for example, through defects on the surface of forming cavities caused by poor execution or the selection of an unsuitable material.
Defects can also occur due to inadequate cleaning of the mold or forming cavity, leading to the appearance of some of the defects described below on the surface of the molded product.
Defects of injection molded parts and ways to prevent them
In this article, we have described 12 of the most common defects that can occur on the surface (or inside) of injection molded products and the preventive actions that should be taken to eliminate issues that arise during the production process.
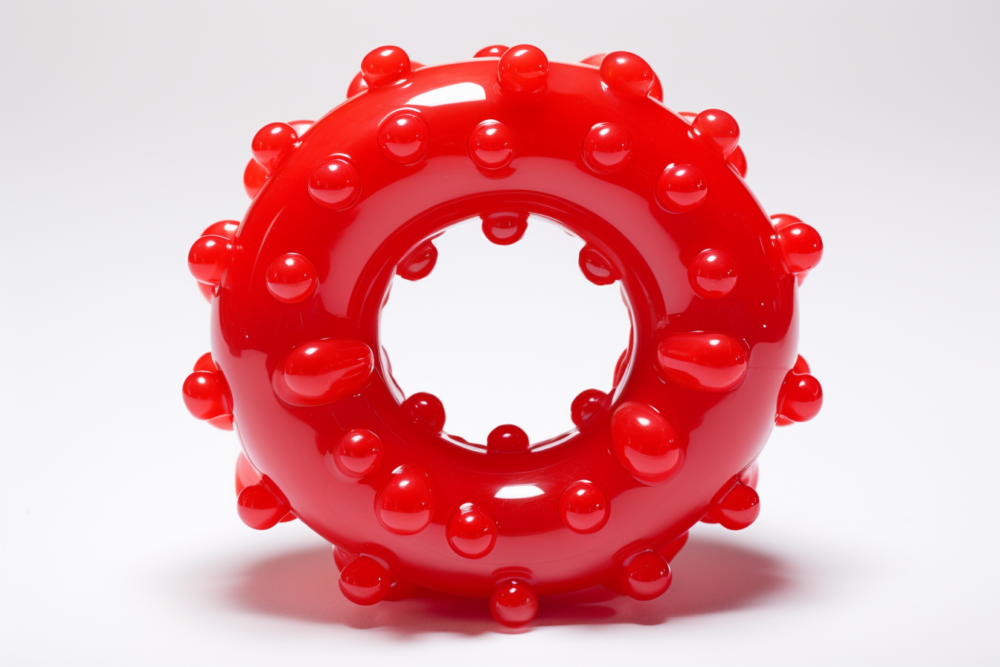
Bubbles
They are small gas bubbles that are formed inside the molding during the injection process. The main causes of air bubble enclosure are too high injection pressure and excessive moisture in the material.
In cases of excessively high pressure, gases do not have the opportunity to escape before the material solidifies, leading to bubble formation. Moist raw material can also produce bubbles, as the high temperature during injection turns water vapor in the material into gas.
Below are preventive measures to take to eliminate the problem:
- Monitoring and adjusting injection process parameters, such as pressure, injection time, and speed.
- Proper drying of the raw material before the injection process to reduce its moisture content.
- Monitoring the temperature of the injection mold and adjusting it to meet the specific requirements of the material.
- Reduction of pressure in the cylinder.
- Reducing the speed of injection and the screw.
- Thorough cleaning of venting holes.
- Inspecting the material for any contamination.
Brittleness, fragility
Brittleness and fragility in injection molded parts are undesirable traits that can affect the strength and durability of the product. These issues are often caused by improper material selection and incorrect injection parameters. Too high a mold temperature and too short an injection cycle can make the injection molded parts brittle. Additionally, an excessive amount of reinforcing additives in the material can make the product brittle.
Below are preventive measures to take to eliminate the problem:
- Choosing the right material that ensures the proper strength and flexibility.
- Properly adjusting the injection process parameters, such as mold temperature, cycle time, and pressure.
- Conducting tests on trial parts to optimize parameters and prevent brittleness and fragility.
- Lowering the temperature in the cylinder.
- Reducing the back pressure.
- Reducing the screw speed.
- Inspecting the material for any contamination.
- Reducing the amount of regranulate used.
- Proper drying of the raw material before the injection process to reduce its moisture content.
- Increasing the mold temperature.
- Reducing stress in the molding.
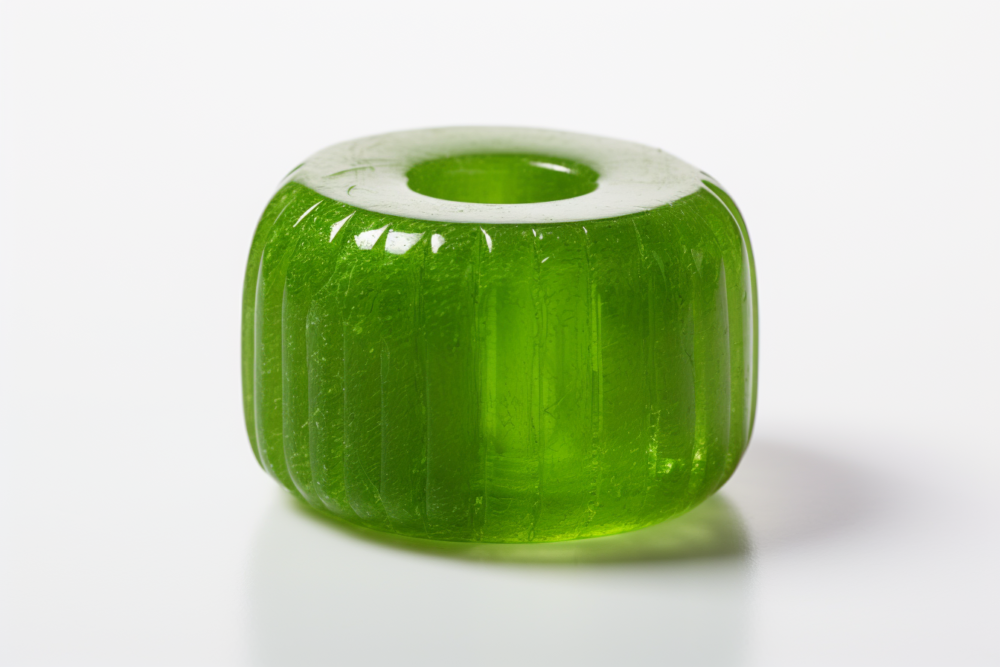
Excessive glossiness
Excessive glossiness is a condition where the surface of the molding has an overly intense shine, often negatively affecting its aesthetics. This issue is usually caused by an improperly set temperature of the injection mold (too high) and excessively high injection pressure. When the material is overly melted during injection, a distinct shine will be visible on the surface of the molding.
Below are preventive measures to take to eliminate the problem:
- Setting the appropriate temperature of the injection mold to prevent excessive melting of the material.
- Properly adjusting the injection pressure to avoid overly intense mixing of the material during injection.
- Applying the right cooling parameters post-injection to ensure the proper consistency of the material on the surface of the injection molding part.
- Reducing the speed or pressure of the injection
- Increasing the mold closing force
- Properly cleaning the mold surface and inspecting it for correct alignment
- Proper drying of the raw material before the injection process to reduce its moisture content.
- Reducing the compression pressure or cylinder temperature
Gas burns
Gas burns occur when the surface of the part comes into contact with hot surfaces of the injection mold or hot material. As a result of this contact, dark, scorched spots appear on the surface of the part. To prevent gas burns, it is necessary to control the temperature of the injection mold and the temperature of the material to avoid excessive heating of the surface.
Below are preventive measures to take to eliminate the problem:
- Monitoring and lowering the temperature of the injection mold and the material.
- Properly adjusting the injection process parameters to avoid overheating the injection molding part.
- Maintaining the appropriate cooling parameters to quickly cool the molding after injection and prevent gas burns.
- Reducing the injection speed and pressure
- Increasing the mold closing force
- Properly cleaning the mold surface and inspecting it for correct alignment
- Proper drying of the raw material before the injection process to reduce its moisture content.
- Reducing the compression pressure and cylinder temperature
Oversized injection molded parts
Oversized elements occur when the injection-molded part has dimensions larger than intended. The causes of this problem can be diverse. It may be due to incorrect settings of the injection mold tool, preventing precise dimension replication, or improper injection parameters that can result in excessive material expansion within the mold.
Below are preventive measures to take to eliminate the problem:
- Regular inspection and maintenance of the injection mold tool to keep it in proper condition.
- Properly adjusting injection parameters, such as pressure and injection time, to ensure accurate dimensions of the part.
- Thoroughly examining trial parts and, if necessary, modifying injection parameters.
- Reducing the injection speed and pressure
- Reducing cylinder temperature
- Reducing clamping pressure
- Increasing the mold temperature and material temperature
- Reducing the total cycle time
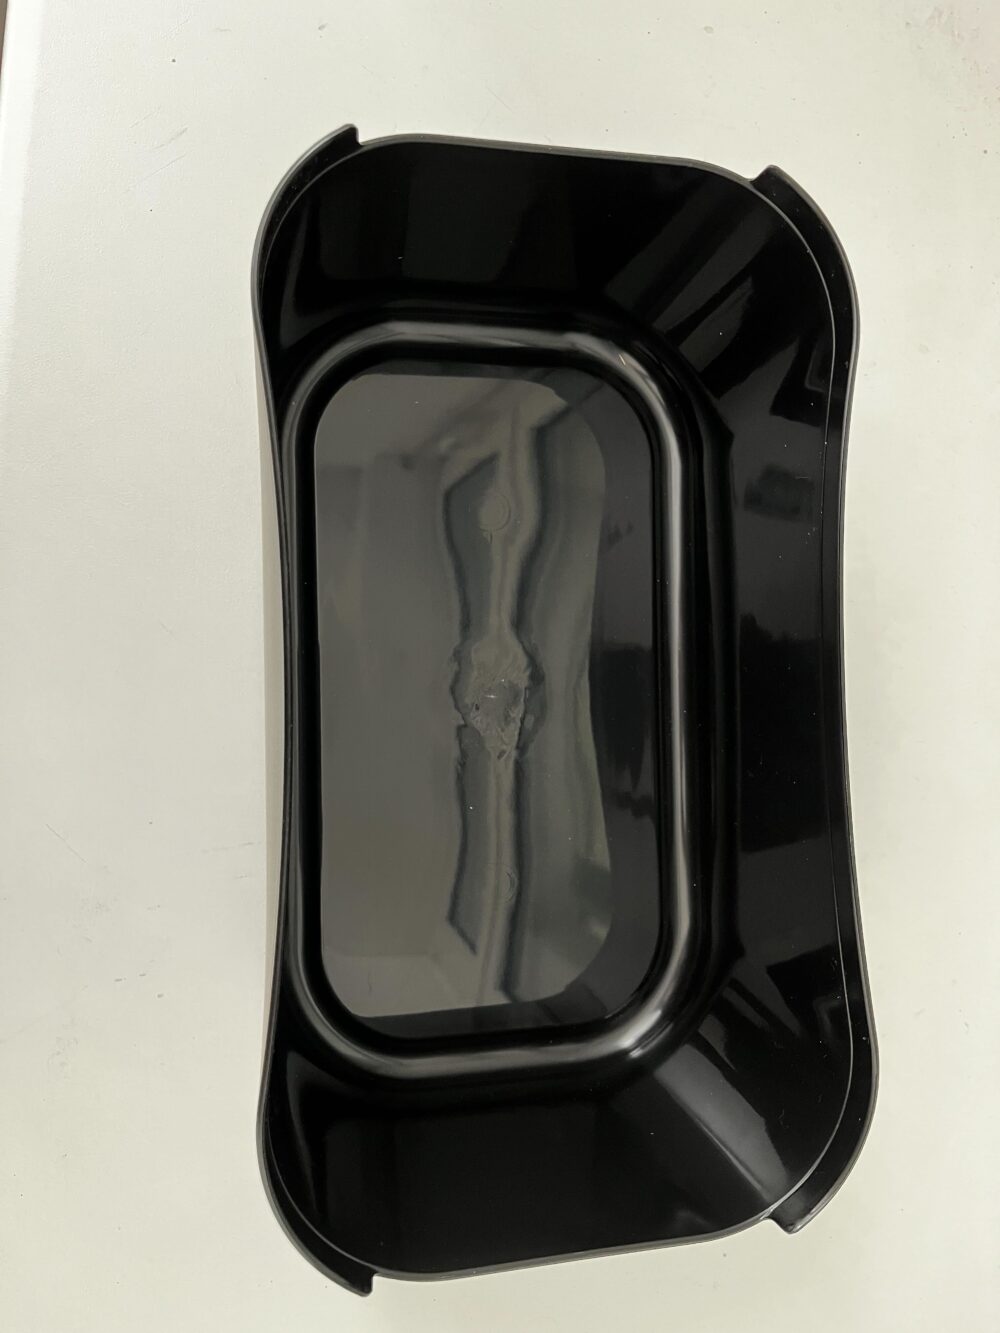
Poor surface quality
Certain irregularities on the surface of the injection molded part can result from the inadequate quality of the injection mold, damages or contaminants on the mold, and inappropriate injection parameters. The part surface may then be uneven, rough, or have defects, significantly affecting the aesthetics and functionality of the product. The expected gloss of the part also depends on the proper construction of the injection mold. Improperly maintained injection molds can have scratches, deficiencies, or contaminants that transfer onto the molding’s surface during injection.
Below are preventive measures to take to eliminate the problem:
- Using high-quality injection mold tools that are durable and resistant to damage.
- Regular maintenance, cleaning, and repairs of the injection mold to prevent contamination and damage.
- Verifying and quality control of the mold surface before injection to ensure it is suitable for producing high-quality injection molding parts.
- Increasing the injection pressure and injection speed
- Increasing the temperature of the material used
- Increasing the back pressure
- Properly cleaning the mold surface and inspecting it for correct alignment
- Increasing pressure adjustment
- Proper drying of the raw material before the injection process to reduce its moisture content.
- Reducing injection speed
Visible seam lines
A visible seam line is a location on the surface of the injection molded part where different streams of material come together during injection. In these areas, the material merges, creating visible lines on the surface of the part, which can be aesthetically unacceptable. As a result of this phenomenon, the product near the seam line may appear uneven and inaccurately manufactured.
Below are preventive actions that should be taken to eliminate the problem in the seam areas:
- Setting the appropriate injection parameters, such as pressure, speed, and temperature, to minimize the visibility of seam lines.
- Choosing the right material that has the appropriate bonding ability during injection.
- Carefully designing the injection mold in a way that minimizes the occurrence of seam lines on visible surfaces of the molded part.
- Increasing the injection pressure and injection time.
- Increasing the mold temperature
- Increasing the temperature and the amount of material used
- Thoroughly cleaning and enlarging the venting holes
- Reducing injection speed
- Relocating the injection gate
- Increasing injection speed
Short shots
Short shots are areas on the surface of the injection molded parts that have not been completely filled with material during injection. These unfilled areas can result from insufficient material quantity or improper injection mold settings. Short shots can significantly impact the quality and functionality of the product and may cause issues during its use. Parts with such a defect do not pass quality control and are considered unacceptable.
Below are preventive measures to take to eliminate the problem:
- Ensuring the proper amount of material during injection by adjusting injection parameters such as pressure, speed, and injection time.
- Regularly inspecting the injection mold tools to detect any damage that may lead to short shots.
- Utilizing advanced numerical injection simulation techniques to identify potential short shot areas and design the injection mold in a way that allows for their avoidance.
- Increasing the amount of material used
- Increasing the injection pressure and injection speed
- Increasing the size of the venting holes
- Increasing the material temperature
- Increasing the back pressure
- Increasing the mold temperature
- Increasing the size of the injection gate
- Increasing the size of the runner channels and the sprue
- Thoroughly cleaning the venting holes
- Increasing pressure adjustment
Silvery streaks
“Silvery streaks” are visible marks on the surface of the injection molded part, which can be caused by the leaching or separation of reinforcing additives within the raw material. When reinforcing additives are not adequately dispersed within the raw material, they can create streaks on the part’s surface that are visible.
Below are preventive measures to take to eliminate the problem:
- Proper adjustment of the mixing process and raw material preparation before injection to ensure uniform dispersion of reinforcing additives.
- Monitoring the moisture content of the raw material and ensuring proper storage conditions to prevent the formation of silvery streaks.
- Selecting raw materials of appropriate quality and the right content of reinforcing additives to minimize the risk of streaks on the injection molded part’s surface.
- Proper drying of the raw material before the injection process to reduce its moisture content.
- Increasing injection speed
- Reducing cylinder temperature
- Proper material control for the presence of contaminants
- Reducing screw speed
- Increasing the size of the injection nozzle
- Reducing back pressure
- Reducing injection speed
Sink marks
Sink marks are areas on the injection molded part’s surface that have lower height or are indented, which can lead to incorrect geometry of the part. The causes of sink marks can include low injection pressure, low mold temperature, or an inadequately designed mold that does not allow complete material fill in all areas.
Below are preventive measures to take to eliminate the problem:
- Establishing the appropriate injection parameters, such as pressure, speed, and time, to ensure complete filling of the mold with the material.
- Properly adjusting the mold temperature to ensure smooth filling of every part of the mold.
- Careful design of the injection mold to minimize the risk of sink marks and ensure even filling of all areas of the injection molded part.
- Increasing injection pressure
- Extending injection time
- Reducing injection speed
- Increasing the size of the injection nozzle and feed channels
- Placing the injection gate closer to the cross-section
- Increasing the amount of material
- Reducing mold temperature
- Extending cooling time
Voids
Voids are areas inside the injection molded part that have not been adequately filled with material during injection. They occur due to an insufficient amount of plastic that did not have enough time to completely fill the entire injection mold. This can be caused by too low injection pressure, improper mold settings, or tooling damage. To prevent voids, it is essential to ensure the correct amount of material during injection. This means adjusting injection parameters such as pressure, injection time, and speed to enable full mold filling. Additionally, regular inspections and maintenance of the injection mold tooling are crucial to prevent damage that could affect injection quality.
Below are preventive measures to take to eliminate the problem of bubble formation:
- Increasing injection pressure and injection time
- Reducing injection speed
- Increasing the size of the injection nozzle, feed channels, and sprue
- Placing the injection gate closer to the cross-section
- Increasing the amount of material and thoroughly drying it to eliminate moisture
- Proper cleaning of the vent holes
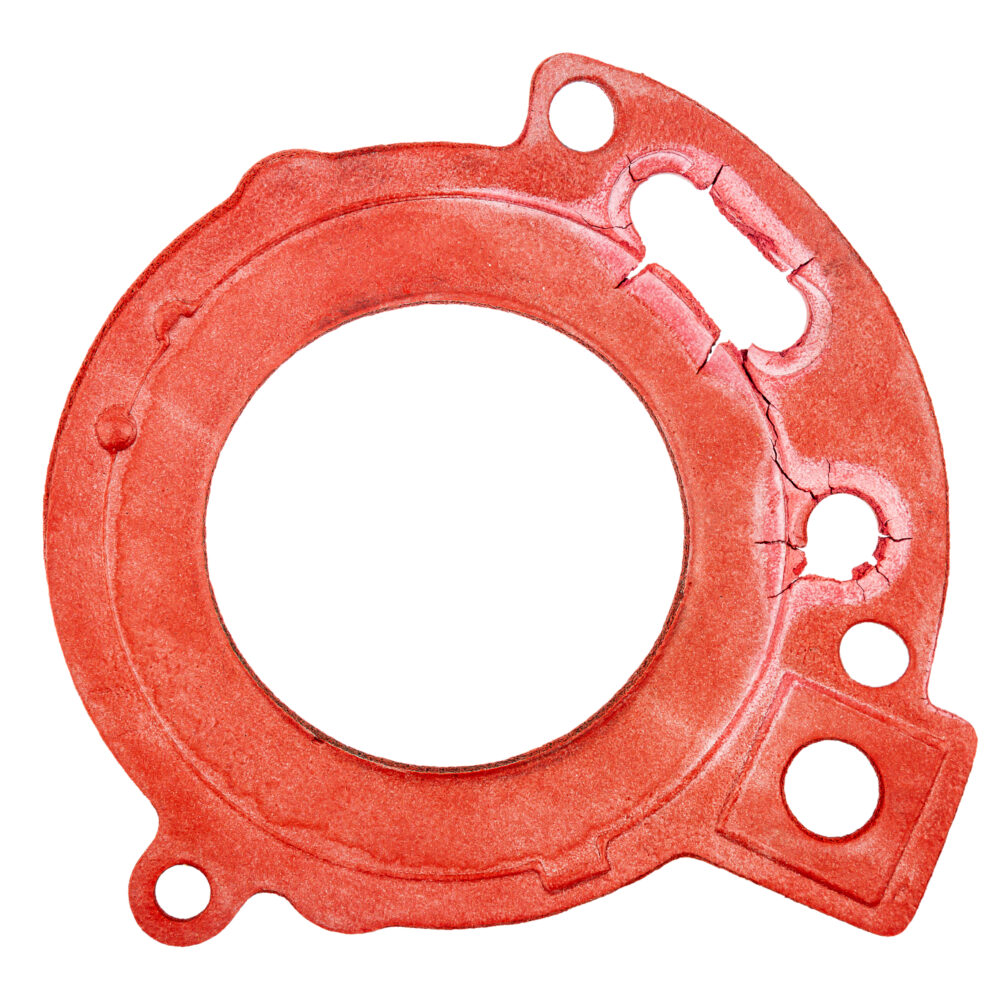
Warping, deformations
Warping, deformations, or excessive shape distortion are distortions that can appear on the surface of injection-molded parts. They can have various causes, including improperly designed injection molds, inappropriate injection parameters, or tooling damage. Warping and deformations may be particularly noticeable on complex or intricate geometry components.
Below are preventive measures to take to eliminate the problem:
- Careful design of the injection mold to minimize the risk of warping and deformations.
- Monitoring and adjusting injection parameters such as pressure, injection time, and speed to avoid uneven mold filling.
- Regular inspections and maintenance of injection mold tooling to prevent damage that can lead to deformations in the injection molded parts.
- Checking for uniform mold temperature distribution
- Increasing injection pressure
- Increasing or reducing mold temperature
- Reducing stress in the injection molded part
- Relocating the injection gate
- Reducing cylinder temperature
- Reducing clamping pressure
- Extending cooling time
Summary
Defects in injection molded parts are a significant concern in plastics processing. They can impact the strength and functionality of the parts, making it essential to pay special attention to prevent their occurrence. To avoid defects, it is crucial to control and adjust injection process parameters, ensure the quality of injection molds, and properly prepare and dry the material before injection. Regular inspections and maintenance of tooling are necessary to detect any damage that may affect the quality of the molded parts. With appropriate preventive measures, high-quality molded parts that meet expectations in terms of aesthetics, strength, and functionality can be achieved.
Are you considering plastic production? Consult the project with us